Selecting the right tools can make or break the finished pizza

Laura Meyer is Chef at Capo’s and Administrator and Teaching Assistant at the International School of Pizza in San Francisco.
As s a pizza maker I am constantly striving to better my dough and my end product. I am always looking for the next thing. What is going to set me apart from my competitors and what is going to make me stand out? As important as my recipes are, they are nothing without the right tools. In addition to creating that perfect recipe, I am always thinking about how to streamline the process.
In a perfect world we would be able to create pizzas that everyone loves without having to think about the cost of labor and rent and all of those other fixed costs, but unfortunately that’s not the case. Working with the right tools can ensure that your production is efficient and without too many bumps in the road.
Starting with your dough production, the mixer, table and choice of proofing containers sets the tone for how your dough will turn out. Sometimes your choice of mixer is limited because of budget, or you inherited a piece of equipment. Using the right mixer for the style of pizza you are making is the first step in ensuring a consistent product.
What you put that dough in is the next step. Dough boxes, metal sheet pans and metal tins are the most common choices. Dough boxes are great because they seal when stacked and there are rolling dollies. They can be moved around wherever you need them. But some are made of fiber glass and although lightweight can crack and break as they age. Sheet pans wrapped in plastic are another option that allow for more air flow between the trays and can be colder because they are metal. A downside to this is the added cost of plastic wrap or bags and you’ll need a speed rack to hold them. Tins are more traditional to the East Coast. They help the dough ball retain its shape and seal when stacked, but you’ll need to find a place to stack them.
The thing to keep in mind is how these receptacles age. All three will warp over time. Boxes will begin to not seal all the way, allowing air inside. Tins, if not handled nicely, will dent and warp and allow air inside, which will dry out your dough. Metal sheet pans will also dent and warp. But the thing I like about sheet pans is that you individually wrap them, so even when they bend no air can get inside (although scraping dough off the tray can become tricky).
Once your dough has been made and is in its proofing container, how you remove it is key to retaining its shape and making it easier to stretch. A dough scraper is that tool. Metal scrapers are great because they are thin and sharp and get the job done, but they can scrape your dough trays and sheet pans (adding to the wear and tear). Metal scrapers can also help with cutting, whether it’s your dough or even a garlic clove for a marinara pizza. There are a few plastic scrapers out there that are great, but my favorites are those that have a thin edge and are bendable. They are easier on your trays and ensure contact to make sure the dough ball releases easily.
Now that your dough has been proofing in its container and you have successfully taken it out of the tray or box, let’s look at where you stretch your dough and the tools you use to prep it for topping. The best tables for stretching are smooth and not cutting boards. Pick a stone top, be it marble or another polished stone or a steel table. Next is stretching. Rolling pins are useful for thin-crust pizzas, but you’ll want to make sure it’s sturdy as some doughs can be firmer. I have broken a few rolling pins in my day and have found larger wooden pins are best. For larger operations a sheeter, which is more commonly found in bakeries, can be helpful. They make short work of thinning out dough, speeding up the make time of any thin-crust pizza. For those pizzas that have a rim, there are machines out there like dough presses that will stretch your dough for you. But they can heat up your dough some as well as leave a residual amount of oil. Presses are commonly found in franchises and operations where training is hard.
For thin-crust pizzas, after they been rolled out or put through a sheeter, I like the extra step of a docker. A docker can help make a thin-crust pizza even crispier by helping take out some of the gas and ensuring your dough will not bubble too much in the oven.
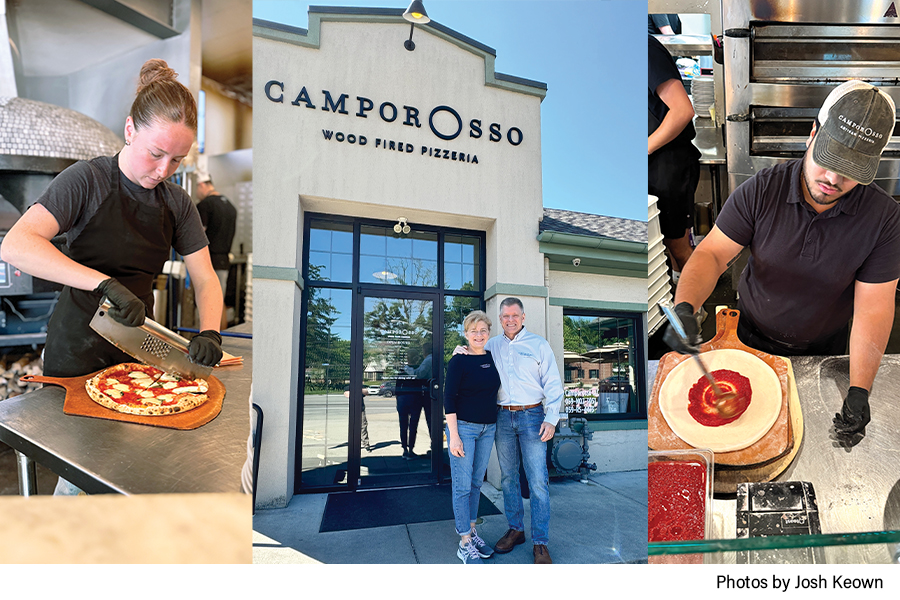
What you use to get your pizza off the table and in and out of the oven is one of the most important tools in a pizza maker’s arsenal. I’m talking about peels. There is a slew of peels out there, and they all have pros and cons. I personally love a thin, metal, perforated peel. The peel to slide the pizza into the oven can either be rectangular or rounded and the peel to remove the pizza is normally smaller. For Neapolitan pizza the exit peel is normally quite smaller and has a sliding grip to give more leverage and ease of handling. Wooden peels are very common, especially in operations where doughs are pre-stretched. They are normally thicker and solid. These can be easier to handle for newer employees as the pizza does not need to be picked up off the table, but the pizza can be made directly on top. The perforation is best in my opinion as they allow excess flour to drop through ensuring a cleaner oven and a cleaner bottom of the pizza.
Cutting boards and knives are the last tools before your pizza hits the table. The best cutting boards are thin and lightweight, have a handle, and can withstand high heat if they are being used to take pizzas out of the oven as well as can take a beating from daily use. The most common knives are wheels or half-moons. For smaller pizzas wheels are great because you have more control over the slices, but for large thick cut pizzas a half moon knife is my preference as they can cut through without pushing toppings out of place.
Regardless of the tools you choose, finding which are best for your operation and investing in quality will ensure consistency and a fruitful business.
Laura Meyer is Administrator & Instructor, The International School of Pizza.


