Get a Detroit-style Pizza Dough Formula Recipe
There is no one way to make a great Detroit style pizza. Even the original pizzerias in Detroit cannot decide on whose version is the “right way” of doing it. Pizza is so personal that everyone is going to have an opinion, but what matters most is….is it delicious and well cooked? Below you will find a recipe that is similar to the way the old school shops are still making it to this day. Certain things may vary seeing as most of the details at these pizzerias are closely guarded secrets and proprietary information. But with our knowledge of the basic principles of fermentation and what information we do know…..here we go.
Using a 10-x14-inch pan this recipe will yield 3 18-ounce/510-gram dough balls:
1000g Mid-range protein like Power flour (13% protein)
580g water (58%)
10g fresh yeast (1%) (If using dry yeast opt for 5g of instant yeast)
20g kosher salt (2%)
Process:
In the bowl of a mixer with the hook attachment add the flour. In a separate bowl, add the water and yeast. Break up the yeast into small pieces by crumbling it in your hand. Turn the mixer on and rain in the water and yeast mixture. Mix on low speed until it forms a shaggy mass. This should take about a minute or two. Increase the speed and let mix for about three minutes. Stop the mixer and peel the dough away from the hook using your hand. Sprinkle the salt on top and towards the center of the dough. Turn the mixer back on slow speed just to ensure the salt does not fly out of the bowl. Increase the speed to medium and let mix for about three minutes. Stop the mixer and touch the dough. You should be looking for if you can still feel any salt that hasn’t been incorporated. If you can still feel salt, continue mixing, stopping every 30 seconds to a minute to check. The dough will be done mixing when it is no longer shaggy and no longer sticks to the side of the bowl. It should be smooth in texture and when you do a window pane test it does not break and has formed gluten and elasticity. Remove the dough from the mixing bowl and place it into a container where it can double in size, covered with a lid or damp towel. Let rest for 1 hour at room temperature.
If you are familiar with different styles of pizza this may strike you as odd as it is extremely close to what a Neapolitan dough recipe might look like. If you know a little bit of the history behind Detroit style pizza you know the style got it start around the mid 1940s but was adapted from home. Most pizza doughs at this point would not have contained a fat as it was expensive, and pizza was meant to be a cheaper item, but the key would be the pan and the build of the pizza itself.
Today’s pizzerias have more complex systems, but back in the day a lot of pizzerias operated like bakeries. Dough was made in the morning, proofed for a number of hours and then baked off same day. Lack of refrigeration would have dictated this. As creative as pizzerias have become in terms of streamlining their operations to account for a wide array of items and circumstances the original Detroit style pizzerias are still baking from raw a mere few hours after the dough was made.
While your dough is resting, gather all of your pans and grease the inside with a small amount of fat. I have seen both Crisco and liquid butters like Phase and Whirl used but you’ll only need about an ounce or two. The great thing about Crisco is that it’s stickier to the touch and helps the dough stick to where it is pressed and flattened. The liquid butters are great but if you are too heavy handed the dough slides more which could mean rounded corners if the dough is not proofed correctly.
After the dough has risen for an hour, divide the dough into 18 ounces or 510 grams dough balls. You should have a little left over. Once the dough has been divided, flatten each piece into its respective greased 10-x14-inch pan. Press using flat fingers as far into the corners as you can without thinning out the middle too much or creating any holes. Try not to use your fingertips especially if you have long fingernails. Once you have pressed the dough out completely either spread a little bit of fat on top of the dough to prevent a crust from forming or use a pan lid to cover it. Leave the pans out at room temperature for another two to three hours. You will want to place these in a warm area, but I do not recommend placing them on top of the stove if the pilot lights are on as the dough will begin to cook and you will not get the adequate rise when you go to cook them completely.
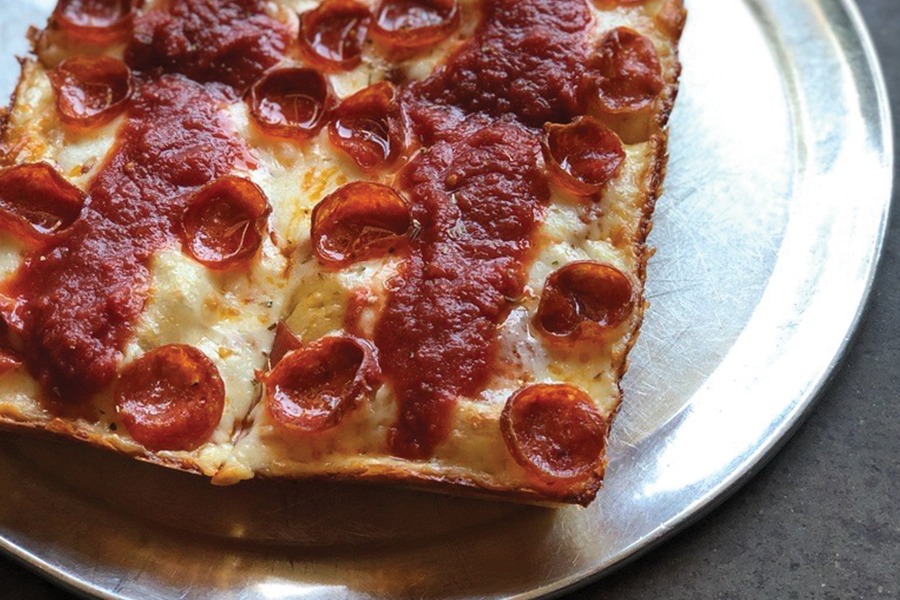
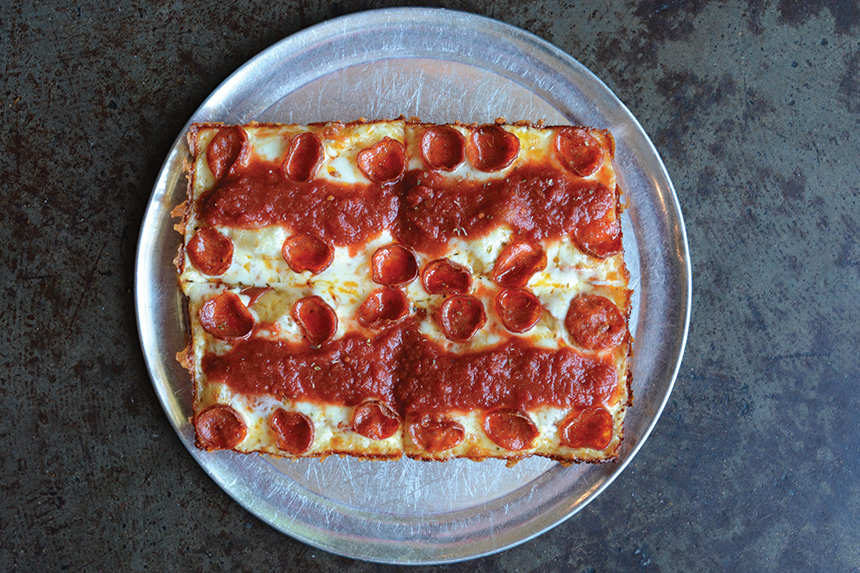
You’ll need about 10-12 ounces of grated Brick cheese for each pizza. If using pepperoni, now is the time to decide over or under the cheese. Buddy’s and a few others always place the pepperoni under the cheese, but there is an allure to a nice crisp cup and char pepperoni. Once the dough has risen for a few hours, spread the cheese evenly all the way to the edges of the pan, completely lining the rim and middle. On top of the cheese, spread sauce in lines on a diagonal. The sauce can be sporadic or in even neat lines. The choice is yours, although there should not be too much sauce all over. Only about six ounces total. Place the topped pizza in a gas brick oven preheated to 525 F and bake for 10-12 minutes. Check the pizza around the eight-minute mark and check the edges for darkening crispy cheese. The cheese should be caramelized and a golden-brown color when finished. Carefully slide the pizza out of the pan trying not to break off the cheese around the edges. Cut into six slices and enjoy.
LAURA MEYER is owner of Pizzeria da Laura in Berkeley, CA.
Revisit Tenets of the Detroit, Part I
DIVE DEEPER: Read Detroit Style Pizza: A Guide to Detroit Pizza
